High quality photography for your merchandise is an absolute must in 2021. Consumers are looking for transparency in their online shopping experience, and one way you can give this is by providing clear, consistent images of your products. But how do you get started from scratch? And what should you do if you are working with a limited budget and timeframe?
We sat down with our in-house product photographer and asked her the do’s and don’ts of merchandise photography.
Q: What are some of the most common mistakes you see people make when they are taking product photography and how can they fix them?
I’d say there are two mistakes I see pretty regularly: poor lighting and missing the details.
For your lighting, I want to remind everyone that there are professionals that go to school for years to master what kind of lighting to use, where to position the lights, and more. If you are working off of a budget for your photography, always remember that unless you are going to spend thousands of dollars on lighting equipment, the best lighting you can get is sunlight. Find a bright but indirectly lit space where you can get at least an hour or so of solid sunlight to take your pictures. It will make the editing process a lot easier for you as well.
For missing the details, I see many pictures where the photographer has failed to square up the camera, they miss an imperfection in the background, or the editing is way too overdone. If your camera has guidelines, I recommend keeping them on. Always double check your background for anything you don’t want in the shot. And when it comes to editing, sometimes less is more. Consumers are looking for authenticity – too much or sloppy editing can lead them to believe that your product is not genuine.
Q: If someone is working with a limited budget, how do you recommend they get started with taking photos of their merchandise?
If you are working on a limited budget, there are three things I recommend you invest in when starting your merchandise photography journey:
First is your setup. Invest in a white background – this could just be a crisp, clean bed sheet. You can also use foam boards for this, which will cut down on the likelihood of awkward shadowing.
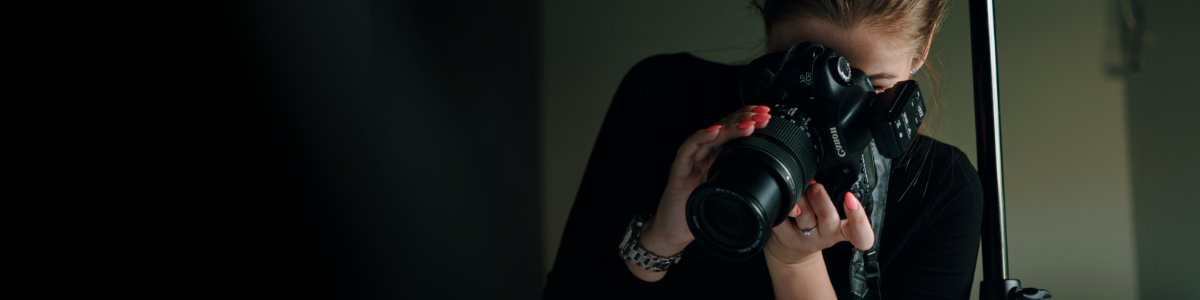
Second is a good camera. A solid starter camera I recommend is a DSLR – you can find some of these around the $500 mark for when you are just starting out.
Third is a tripod. Coming from experience: no matter how still you think you can hold the camera, you will never stand still enough for a product shot to be completely crisp.
Q: How often do you recommend taking merchandise photos?
Anytime you get a new product, the product changes, you think the old photos are getting old and have been over-shown, or your skills improve and you know that you can create a better product photo.
Q: What are some tips you recommend to someone who is trying to improve their merchandise photography?
Invest in photography courses. There are many online options and many free YouTube tutorials. I personally continue to learn from a photographer in the UK. He does mainly product photography, but covers all other types as well.
Here is the link to his website: https://karltayloreducation.com/sign-up/ . You can also check out his YouTube channel with free videos.
Also, practicing is most important. You can watch videos all day long and see how easy it looks, but you will never truly learn until you try it yourself. Be willing to mess up and learn from your mistakes!
Q: Do you have any final pieces of advice for someone who is just starting to take merchandise photography?
Learning multiple techniques is important to improving. I personally have learned multiple ways to do one thing, and I combine all the things I have learned to create my own way of doing things. This comes with practice, but this is truly how you learn and understand what you are actually doing. Once you truly understand lighting and what your camera is doing, you should be able to create anything you want with your camera and editing.